As the temperature rises and the days grow longer, it’s time to refresh your look for the summer season. While long, acrylic nails may be trending, short nails can be just as fashionable and far more practical for your summer adventures. This guide will explore the world of summer nail designs for short nails, proving that you don’t need length to make a statement.
Short nails offer numerous advantages, especially during the active summer months:
- Low maintenance
- Less prone to breakage
- Easier to type and text
- More hygienic for swimming and outdoor activities
Whether you’re headed to the beach, attending a festival, or simply enjoying a backyard barbecue, your nails can reflect the vibrant energy of summer. From bold colors to intricate patterns, there’s a design to suit every style and occasion.
Here’s a quick overview of what we’ll cover in this guide:
| Section | Description |
|---|---|
| Trendy Designs | Top 5 popular summer nail designs |
| DIY Techniques | Step-by-step instructions for creating nail art |
| Color Palettes | Summer-inspired colors and patterns |
| Maintenance | Tips for long-lasting nail designs |
| Celebrity Inspiration | Short nail looks worn by famous personalities |
By the end of this article, you’ll be equipped with the knowledge and inspiration to create stunning summer nail designs that complement your short nails. Remember, nail art is an expression of your personality, so don’t be afraid to experiment and have fun with your manicures this season. Let’s dive in and discover how to make your short nails the perfect canvas for summer creativity!
Top 5 Trendy Summer Nail Designs for Short Nails
When it comes to summer nail designs for short nails, the possibilities are endless. This season’s trends focus on vibrant colors, playful patterns, and eye-catching details that can easily be adapted to shorter nail beds. Let’s explore the top five trendy designs that will make your short nails stand out this summer.
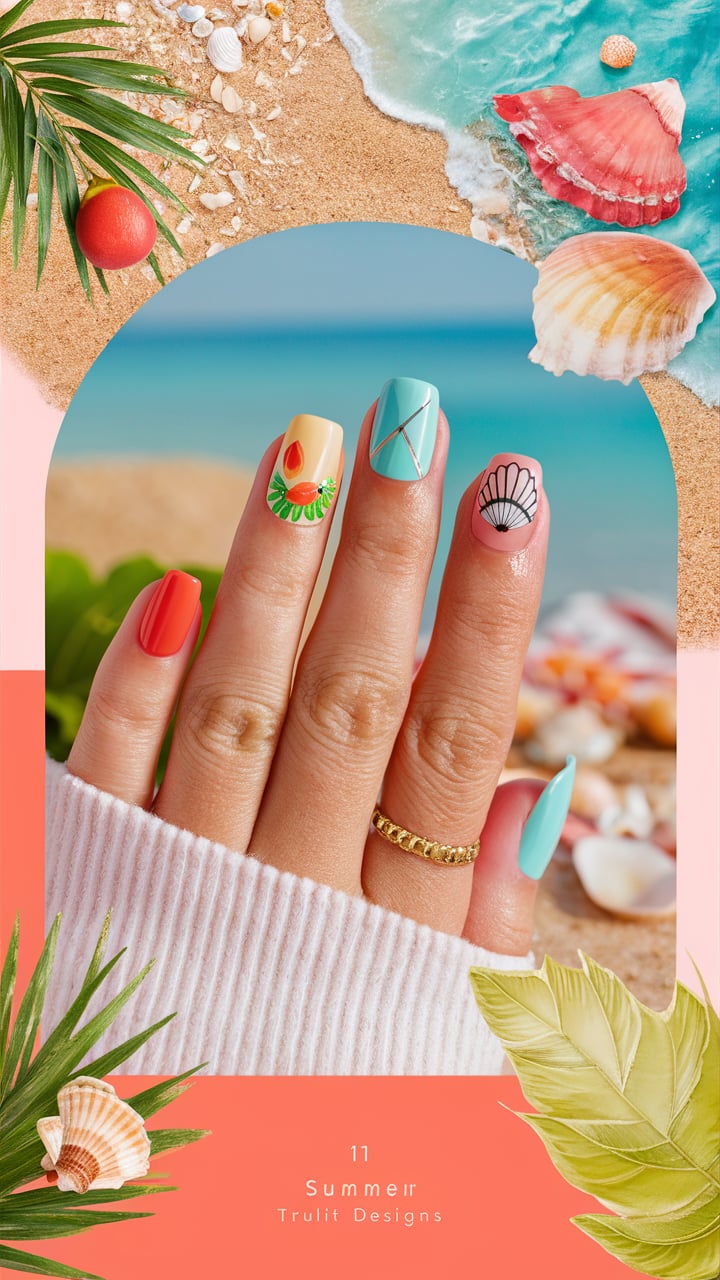
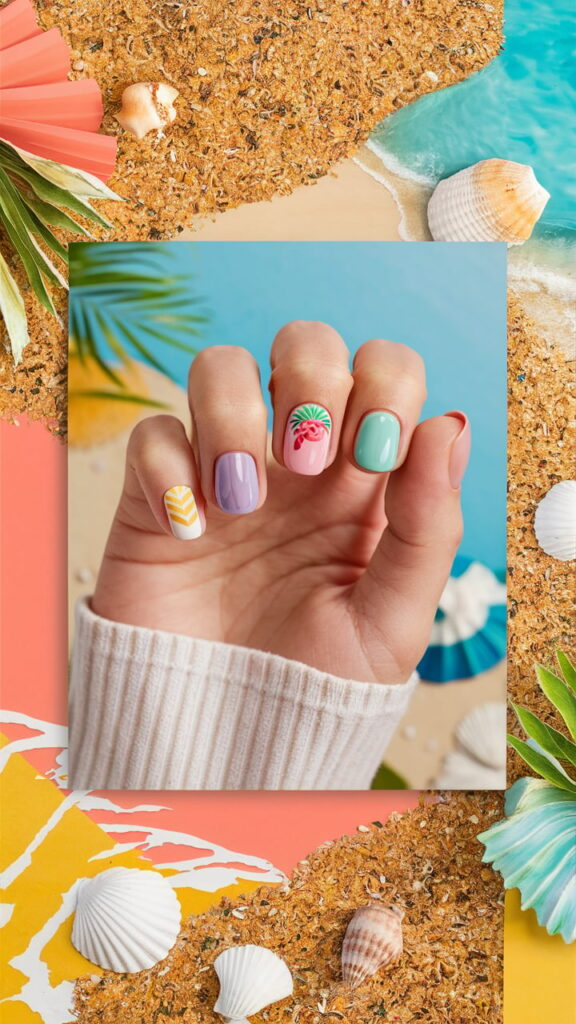
1. Tropical Fruit Accents
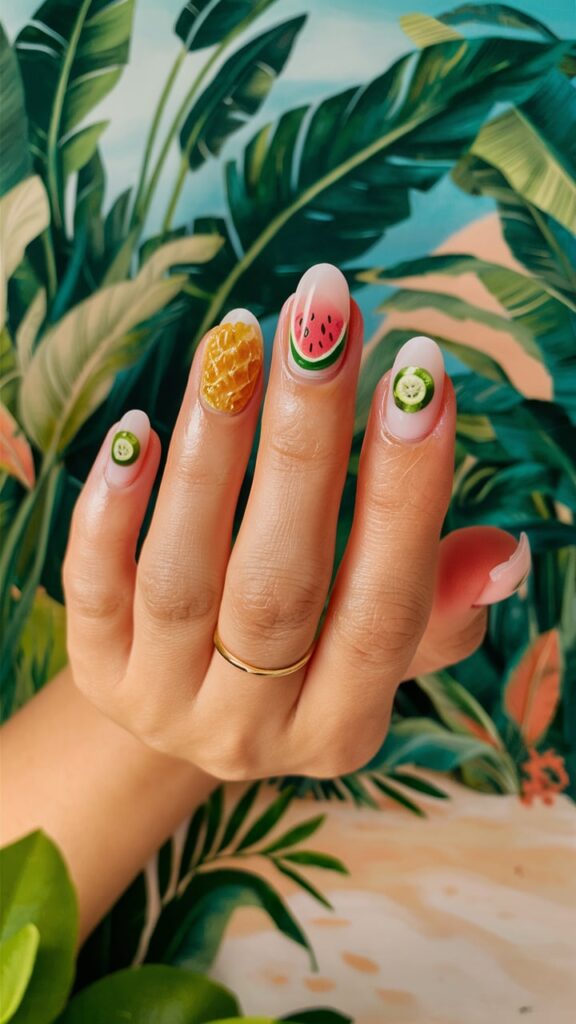
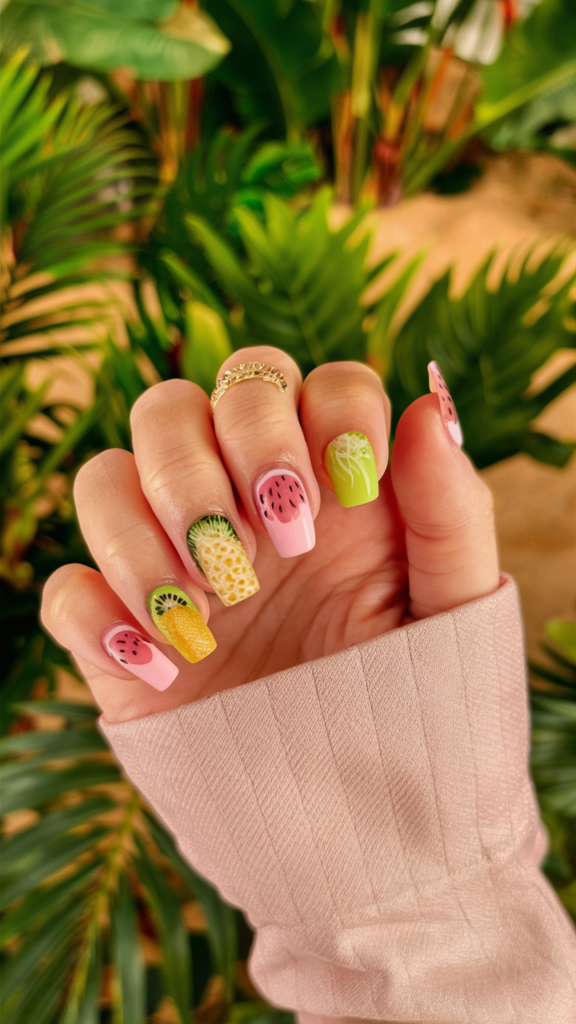
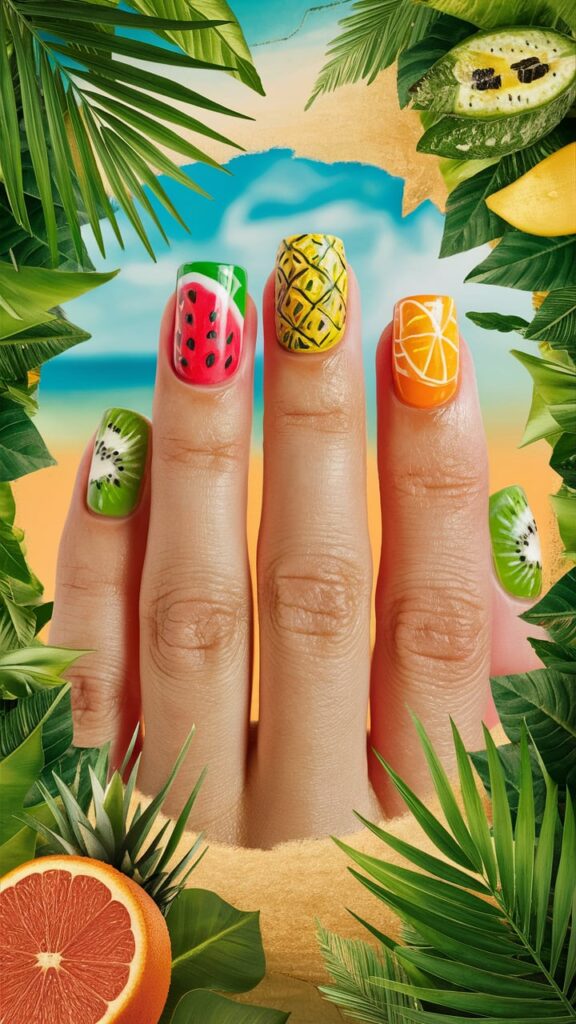
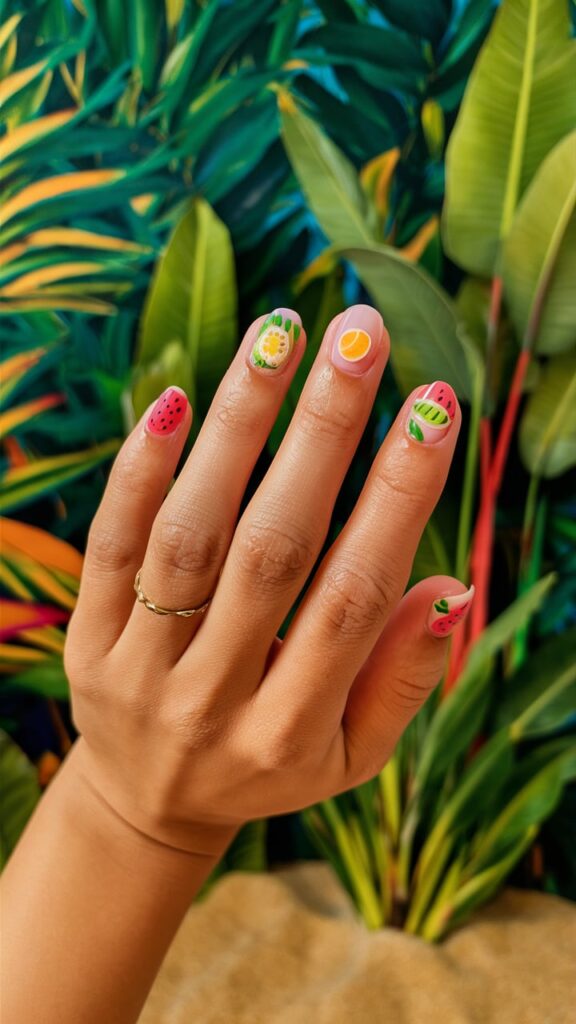
Nothing says summer quite like tropical fruits. This trend brings a cheerful and refreshing vibe to your nails, perfect for beach days or poolside lounging.
How to achieve the look:
- Start with a base color that complements your skin tone (e.g., nude, pale pink, or white)
- Use small brushes or dotting tools to create miniature fruit shapes on one or two accent nails
- Popular fruit designs include watermelons, pineapples, and citrus slices
- Seal the design with a high-gloss top coat for a juicy finish
Pro tip: Keep the fruit designs small and simple to suit your short nails. Focus on capturing the essence of the fruit rather than intricate details.
2. Pastel Ombré
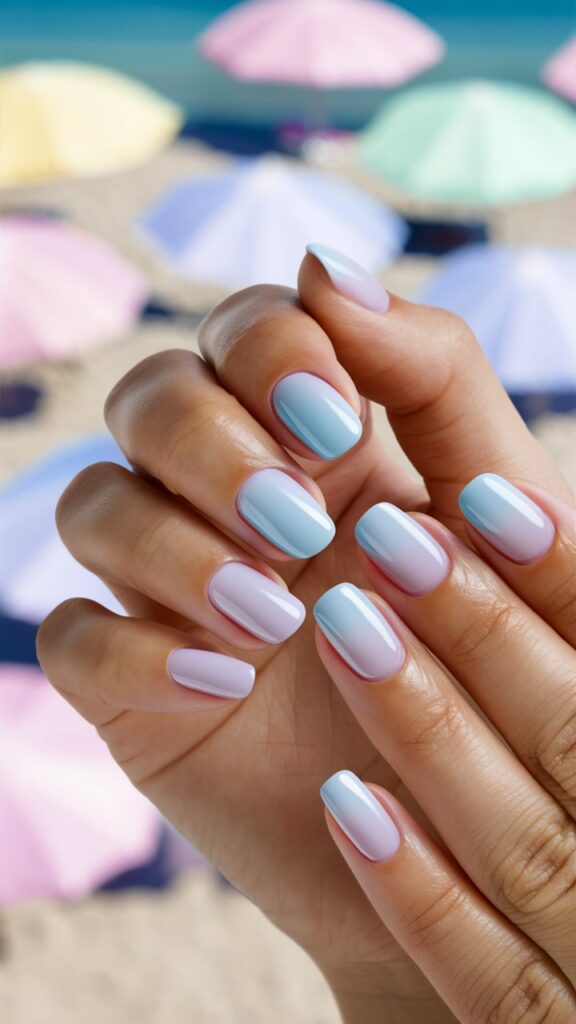

Soft, blended colors are a summer staple, and the ombré technique allows you to incorporate multiple hues even on short nails.
How to create pastel ombré nails:
- Choose 2-3 complementary pastel shades
- Apply the lightest shade as your base color
- Use a makeup sponge to dab on the next color, starting from the tip and working your way down
- Blend the colors gently for a seamless transition
- Add a final layer of the darkest shade at the very tip
- Clean up any excess polish around the edges and apply a top coat
This technique creates an illusion of length while keeping your nails on-trend for the season.
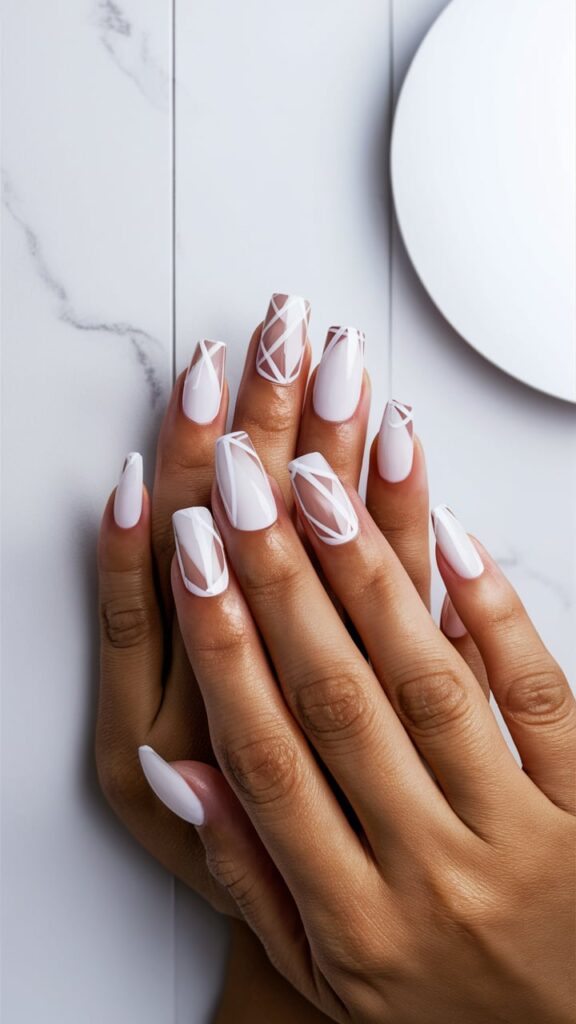
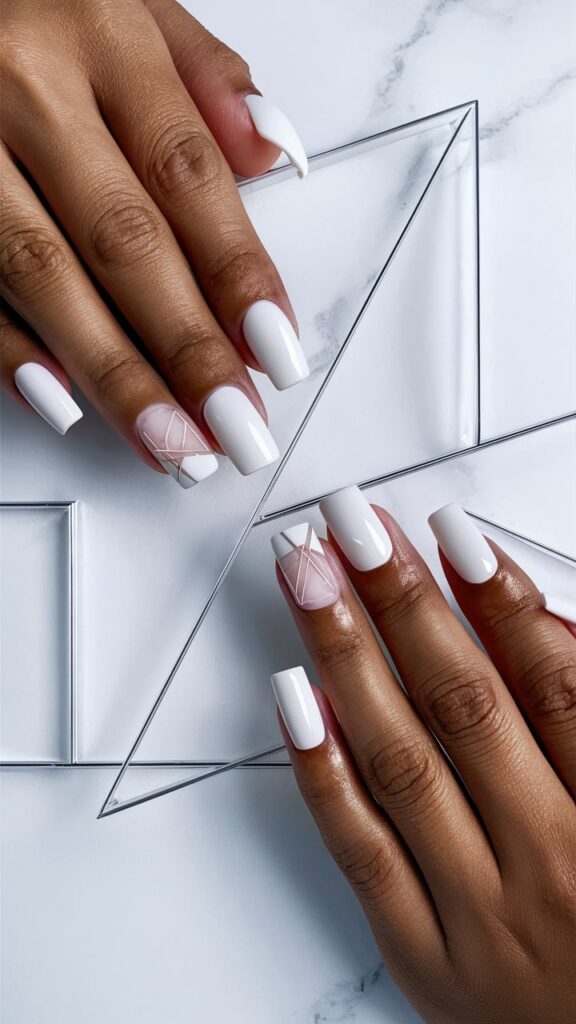
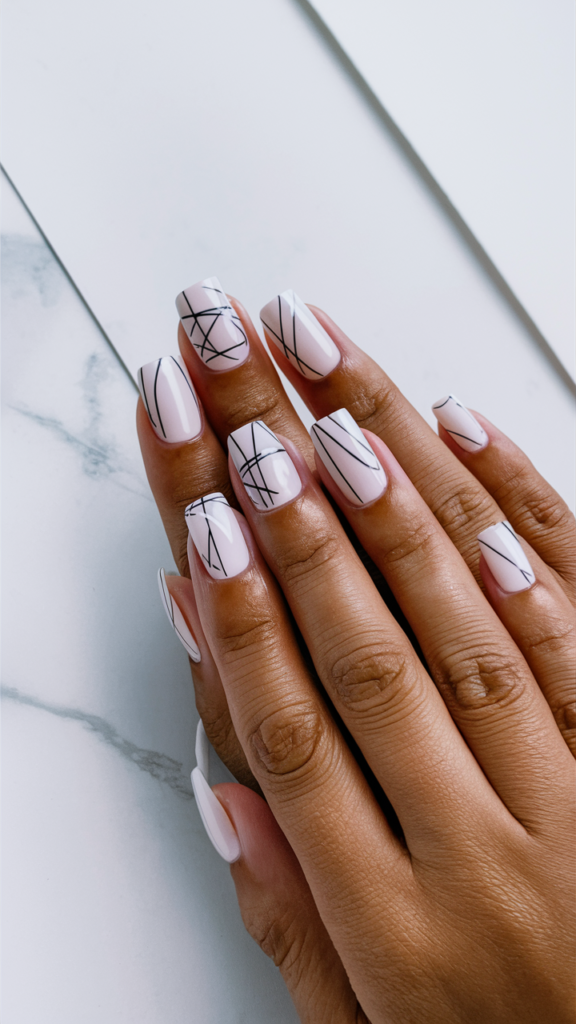
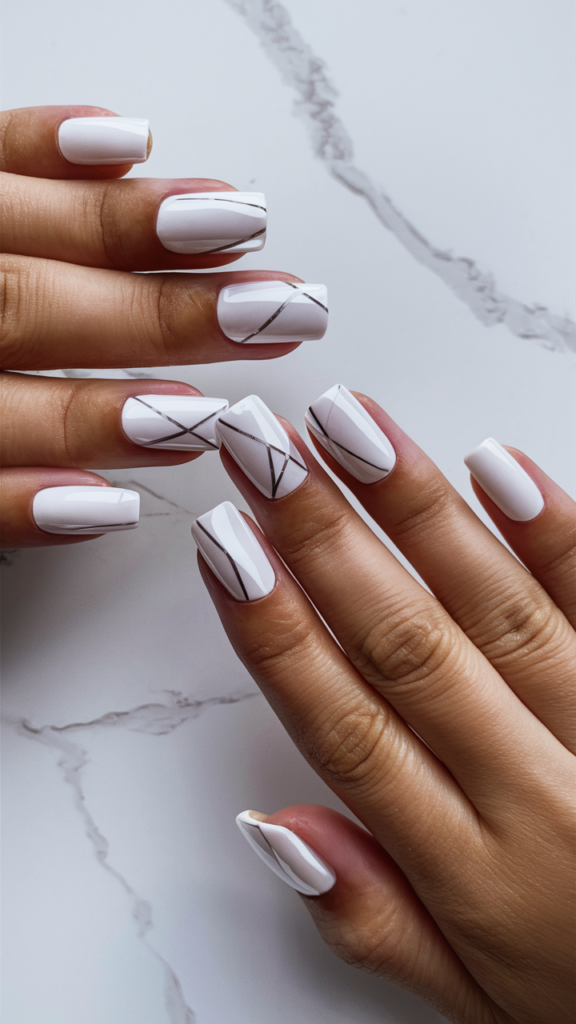
3. Minimalist Geometric Designs
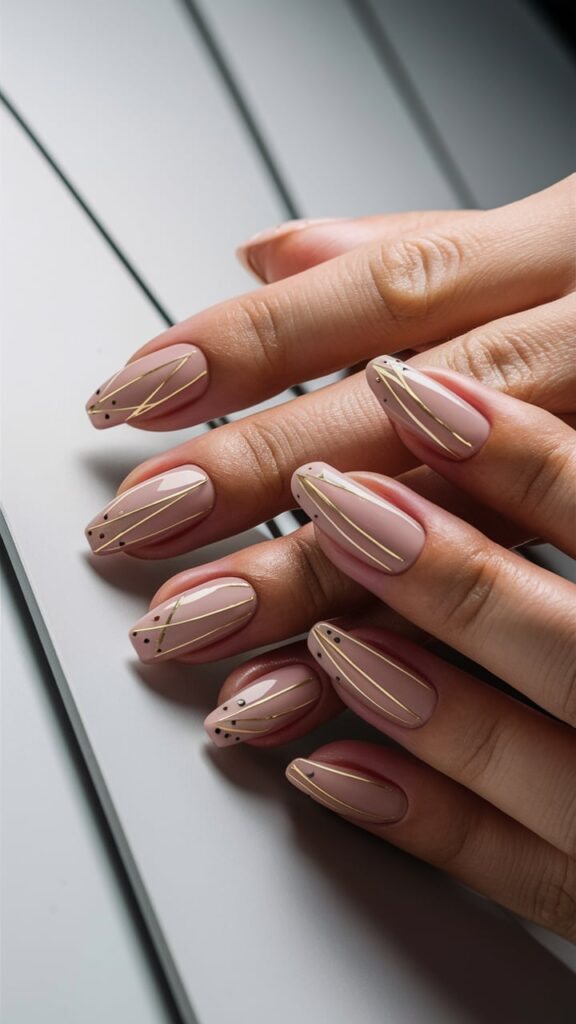
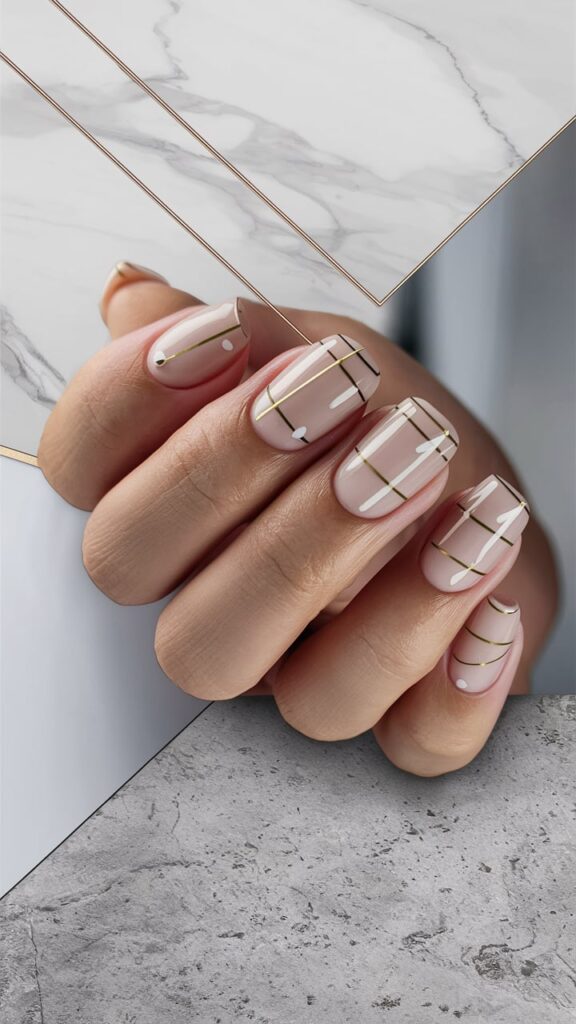
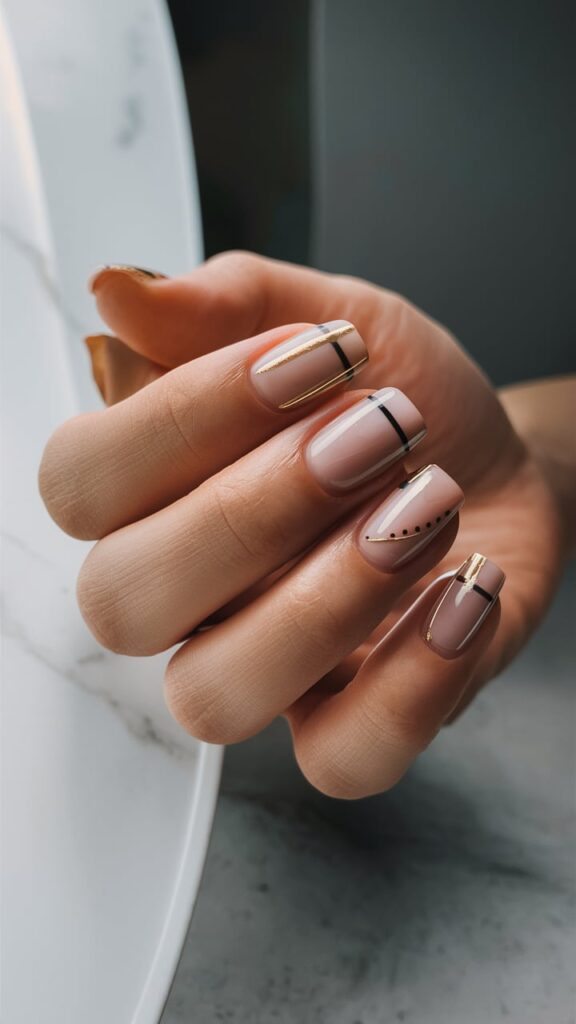
For those who prefer a more sophisticated look, minimalist geometric designs are both trendy and suitable for short nails.
Popular geometric elements:
- Thin lines
- Small triangles
- Tiny dots
- Half-moons
To create this look, start with a neutral base color and use a thin brush or nail art pen to add geometric shapes in contrasting colors. The key is to keep the designs simple and precise. This style works well for both casual outings and more formal summer events.
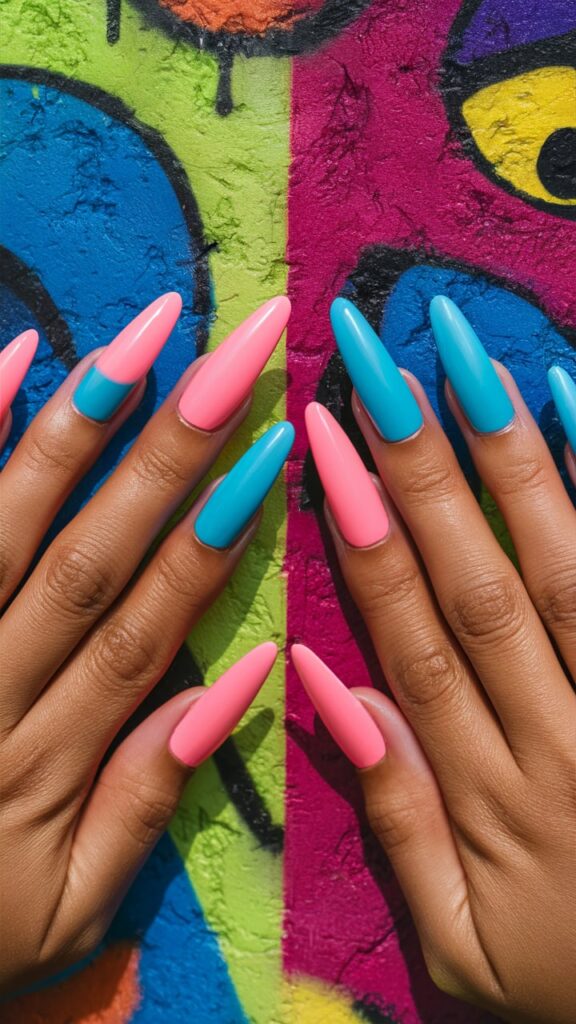
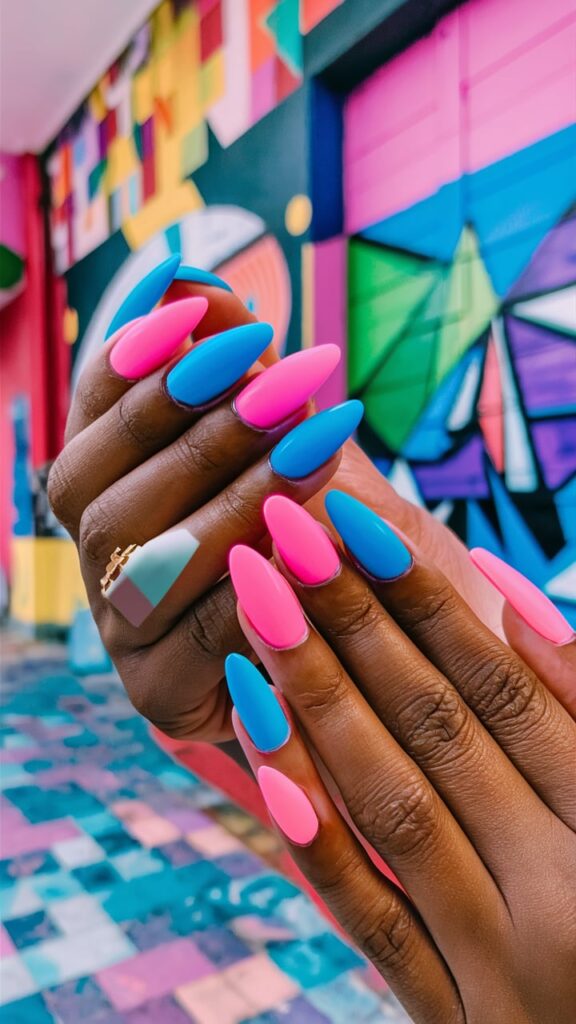
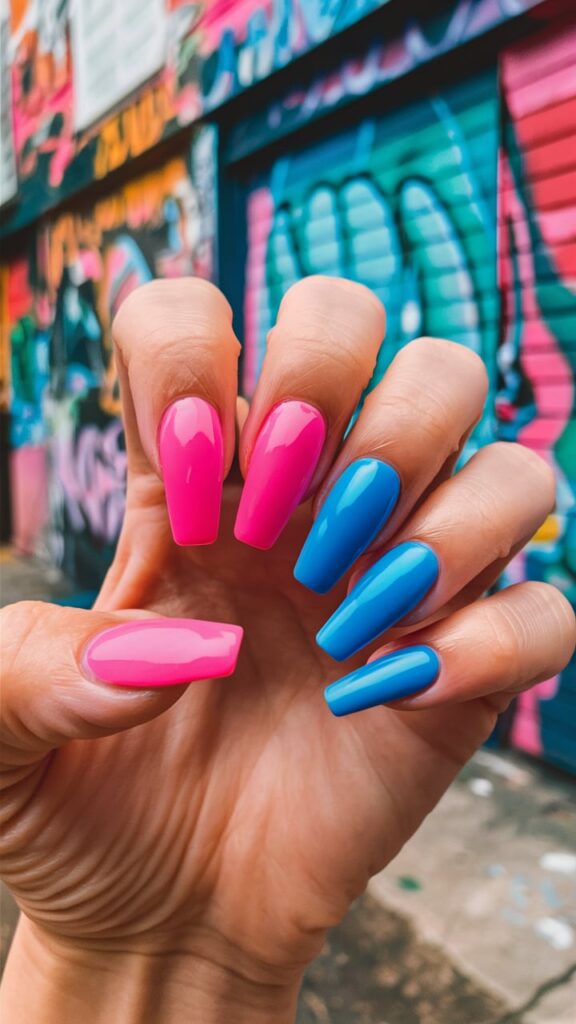
4. Neon Accents

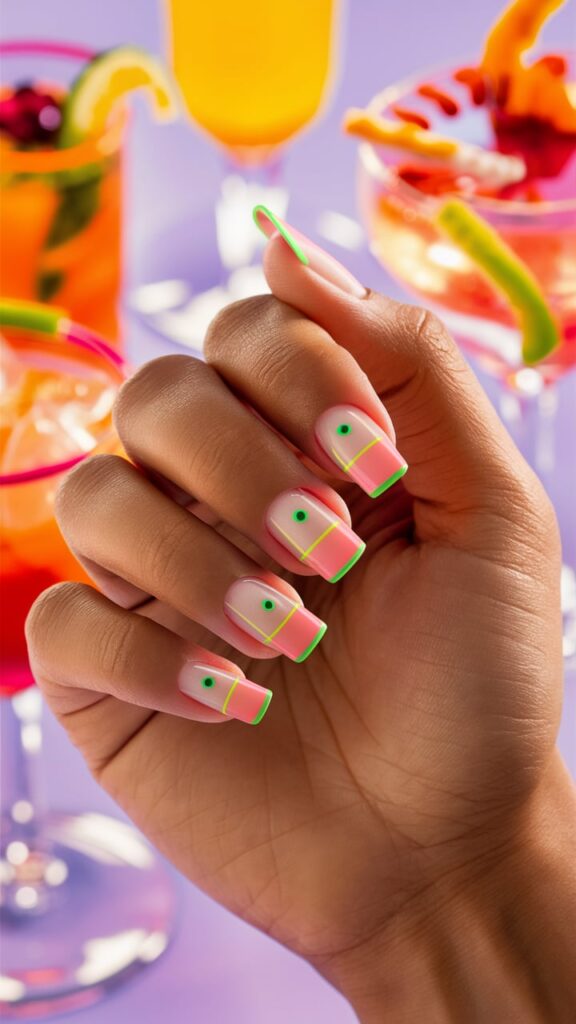
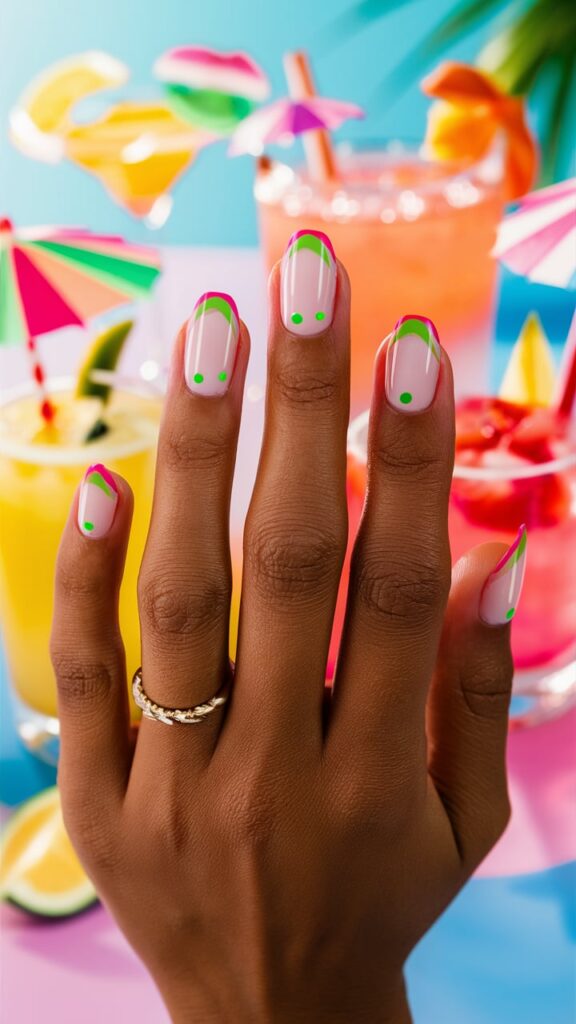
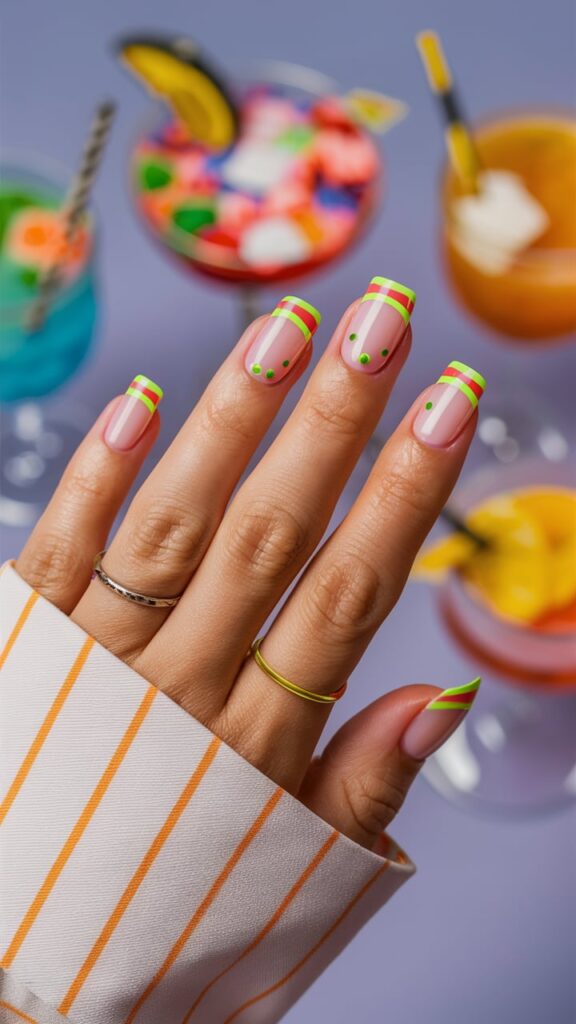
Bright, neon colors are making a comeback this summer, and they’re perfect for adding a pop of color to short nails.
How to incorporate neon accents:
- Choose a neutral base color like white, beige, or light gray
- Use neon polish to create thin French tips
- Add small neon dots or stripes as accents
- Try a neon ombré effect on one or two nails
Remember, a little neon goes a long way, especially on short nails. The goal is to create a bold contrast without overwhelming your nail design.
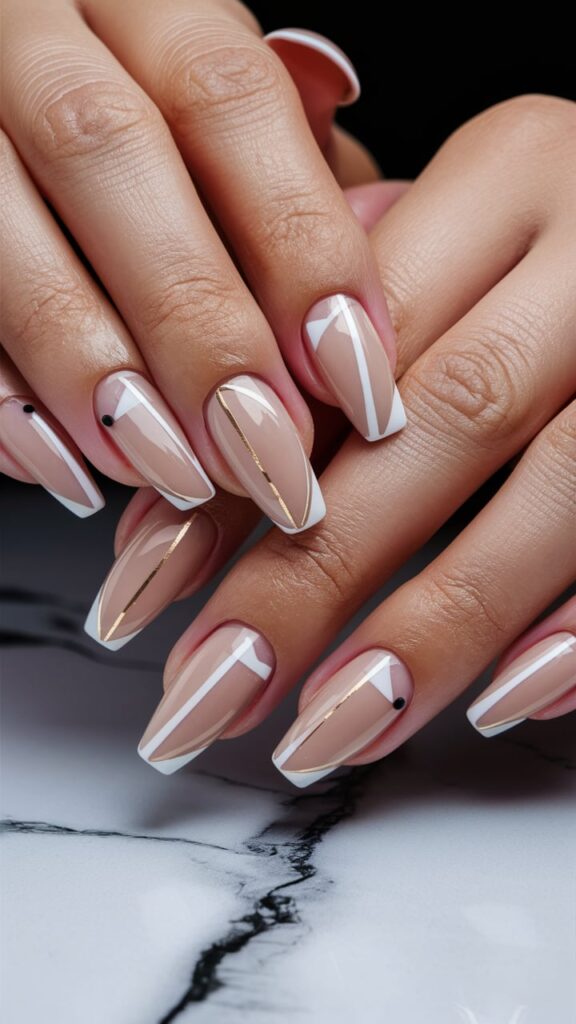
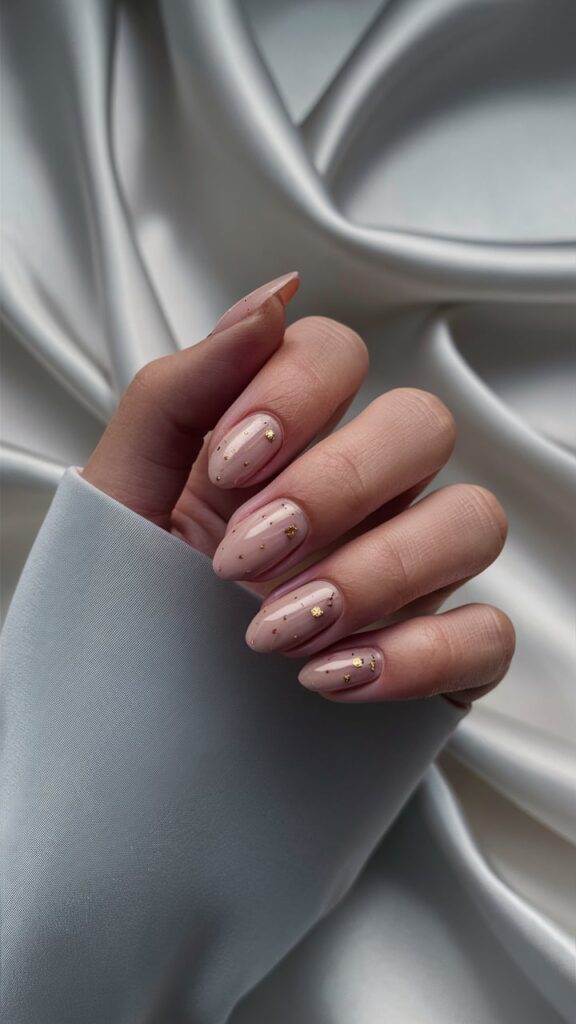
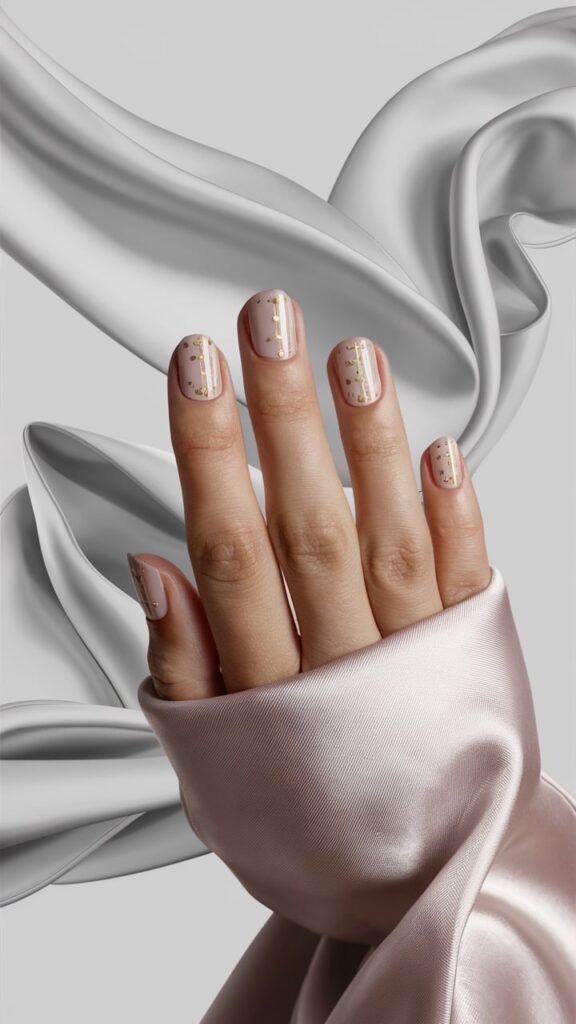
5. Metallic and Holographic Finishes
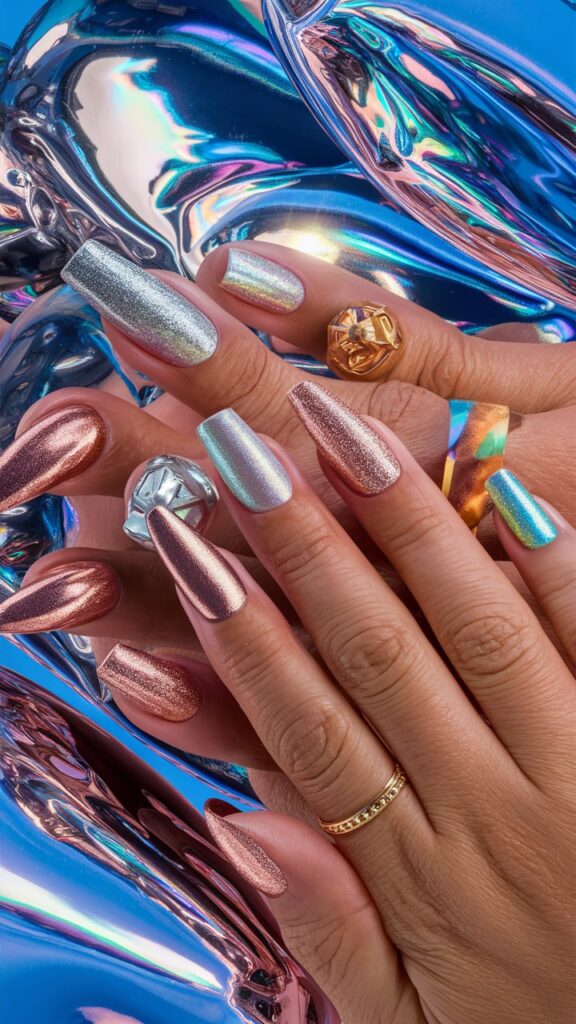
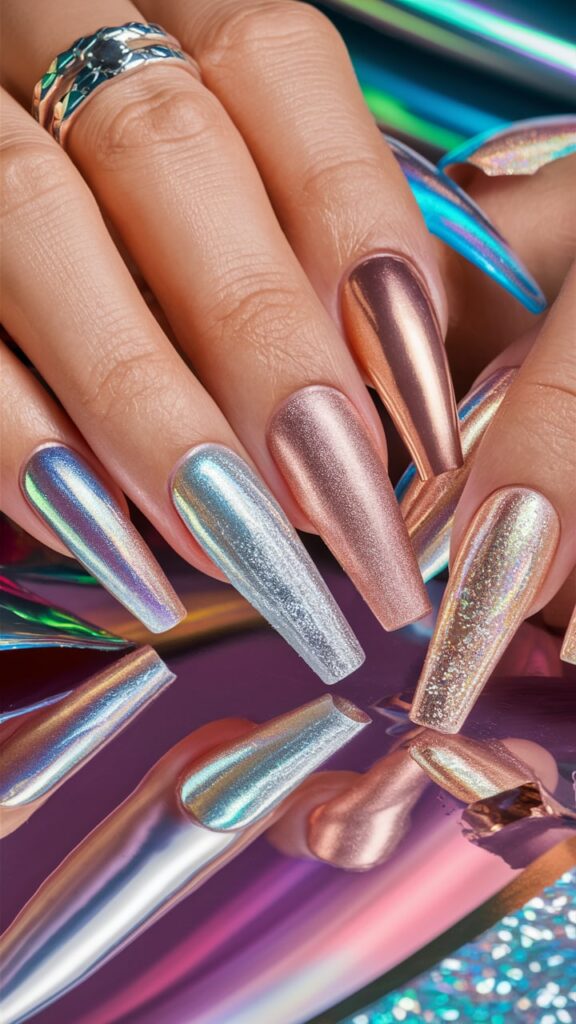

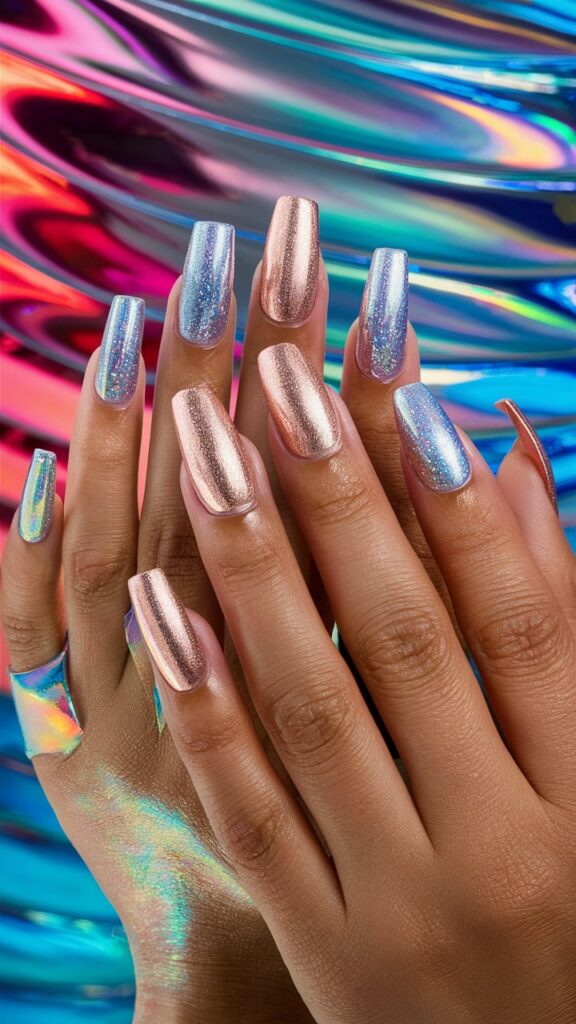
Shimmery, light-reflecting nail polishes are ideal for catching the summer sun and adding a touch of glamour to your short nails.
Types of metallic and holographic finishes:
- Chrome powders
- Metallic foils
- Holographic glitters
- Iridescent top coats
To achieve this look, apply a base color that complements your chosen metallic or holographic finish. Then, use a small brush or your fingertip to gently pat the special effect product onto your nails. Seal with a top coat to protect the finish and enhance its longevity.
Here’s a comparison of these trendy designs:
| Design | Difficulty Level | Longevity | Best For |
|---|---|---|---|
| Tropical Fruit Accents | Moderate | 5-7 days | Beach vacations |
| Pastel Ombré | Easy | 7-10 days | Everyday wear |
| Minimalist Geometric | Easy to Moderate | 7-10 days | Work and formal events |
| Neon Accents | Easy | 5-7 days | Festivals and parties |
| Metallic/Holographic | Easy | 3-5 days | Night outs and special occasions |
When choosing a summer nail design for your short nails, consider factors such as your personal style, the occasions you’ll be attending, and how much maintenance you’re willing to do. Remember that short nails can be just as expressive and stylish as long ones. The key is to choose designs that enhance your natural nail shape and complement your summer wardrobe.
Experiment with these trendy designs to find your perfect summer look. Don’t be afraid to mix and match elements from different trends to create a unique style that’s all your own. With these fashionable options, your short nails will be ready to make a splash this summer!
DIY Techniques for Creating Summer Nail Art on Short Nails
Creating stunning summer nail designs doesn’t require professional skills or long nails. With a few simple techniques and the right tools, you can transform your short nails into miniature works of art. Let’s explore some easy-to-master DIY methods that will help you achieve salon-worthy results at home.
Essential Tools for Nail Art
Before diving into techniques, make sure you have these basic tools on hand:
- Base coat and top coat
- Nail polish in various colors
- Thin brushes or nail art pens
- Dotting tools (or toothpicks as an alternative)
- Nail tape or striping tape
- Makeup sponges
- Nail polish remover and cotton swabs for cleanup
Having these items ready will make your nail art process smoother and more enjoyable.
Technique 1: Dotting
Dotting is one of the easiest techniques to master and can create a variety of designs, from simple polka dots to intricate flowers.
How to create dots:
- Dip your dotting tool (or the rounded end of a bobby pin) into nail polish
- Gently press the tool onto your nail to create a dot
- Vary the size of dots by using different sized tools or applying more or less pressure
Design ideas using dots:
- Clustered dots for a confetti effect
- Evenly spaced dots for a polka dot look
- Arranged dots to form flower petals
Pro tip: For multicolored designs, allow each color to dry before adding the next to prevent smudging.
Technique 2: Striping
Striping is versatile and can be used to create geometric designs, plaids, or even mimic the look of watermelon slices.
Steps for creating stripes:
- Apply a base color and let it dry completely
- Use striping tape to mark off areas you want to remain the base color
- Paint over the tape with your chosen stripe color
- Carefully remove the tape while the polish is still wet
- Clean up any edges with a small brush dipped in nail polish remover
Design ideas using stripes:
- Vertical or horizontal lines for a nautical look
- Criss-cross patterns for plaid designs
- Diagonal stripes for a dynamic effect
Technique 3: Gradient/Ombré
Creating a gradient effect on short nails can add depth and interest to your manicure.
How to achieve a gradient look:
- Apply a light base color and let it dry
- Paint stripes of your chosen colors onto a makeup sponge
- Dab the sponge onto your nail, blending the colors
- Repeat until you achieve the desired intensity
- Clean up around the edges and apply a top coat
Pro tip: For a subtle gradient, choose colors that are close to each other on the color wheel.
Technique 4: Stamping
Stamping allows you to transfer intricate designs onto your nails quickly and easily.
Stamping process:
- Apply and dry your base color
- Apply polish to the stamping plate design
- Scrape off excess polish
- Press the stamper onto the design to pick it up
- Roll the stamper onto your nail to transfer the design
- Seal with a top coat
Design ideas for stamping:
- Tropical leaves or flowers
- Seashells or starfish for a beach theme
- Geometric patterns for a modern look
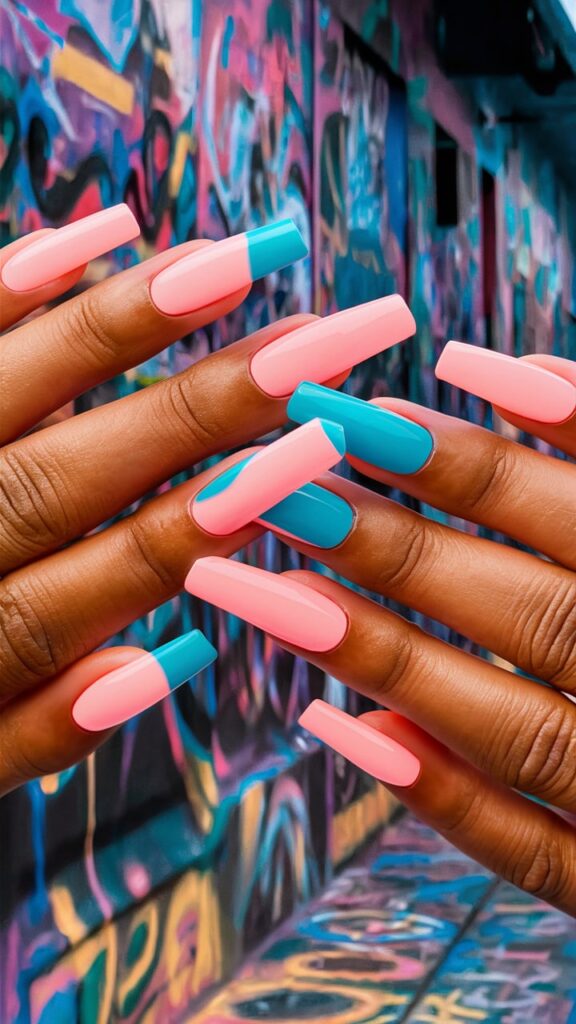
Technique 5: Negative Space
Negative space designs work particularly well on short nails, creating the illusion of length and a modern, minimalist look.
Creating negative space designs:
- Apply a base coat but leave some areas of your nail bare
- Use striping tape or nail vinyls to create shapes
- Paint over the exposed nail and remove the tape/vinyls
- Clean up edges and apply a top coat
Popular negative space designs:
- Half-moon shapes at the base of the nail
- Diagonal splits
- Geometric shapes like triangles or squares
Here’s a comparison of these DIY techniques:
| Technique | Difficulty | Time Required | Best For |
|---|---|---|---|
| Dotting | Easy | 15-20 minutes | Floral or abstract designs |
| Striping | Moderate | 20-30 minutes | Geometric or color-block designs |
| Gradient/Ombré | Moderate | 25-35 minutes | Sunset or ocean-inspired looks |
| Stamping | Easy to Moderate | 15-25 minutes | Intricate patterns or textures |
| Negative Space | Easy | 20-30 minutes | Modern, minimalist designs |
Remember, practice makes perfect when it comes to nail art. Don’t be discouraged if your first attempts aren’t salon-perfect. With time and experience, you’ll develop steady hands and an eye for detail.
To make your DIY summer nail art last longer on short nails:
- Always start with clean, oil-free nails
- Use a good quality base coat to prevent staining and improve polish adhesion
- Allow each layer to dry completely before adding the next
- Seal your design with a durable top coat
- Reapply top coat every 2-3 days to maintain shine and prevent chipping
By mastering these DIY techniques, you’ll be able to create a wide variety of summer nail designs that perfectly suit your short nails. Experiment with different color combinations and patterns to find the looks that best express your personal style and capture the essence of summer fun!
Color Palettes and Patterns Perfect for Summer Short Nail Designs
Choosing the right colors and patterns for your summer nail designs can make a significant impact, especially when working with short nails. The right combination can create the illusion of length, complement your skin tone, and capture the essence of the season. Let’s explore some captivating color palettes and eye-catching patterns that are perfect for short nails this summer.
Summer-Inspired Color Palettes
1. Tropical Sunset
Evoke the warmth of a summer evening with these hues:
- Coral pink
- Golden yellow
- Soft orange
- Deep purple
This palette works well for ombré designs or color-blocking on individual nails.
2. Ocean Breeze
Capture the serenity of the sea with these cool tones:
- Aqua blue
- Seafoam green
- Sandy beige
- Pearl white
Try using these colors in a gradient effect or for beach-themed nail art.
3. Citrus Burst
Bring a zesty freshness to your nails with these vibrant shades:
- Lemon yellow
- Lime green
- Tangerine orange
- Grapefruit pink
These colors are perfect for fruit-inspired designs or bold, solid colors.
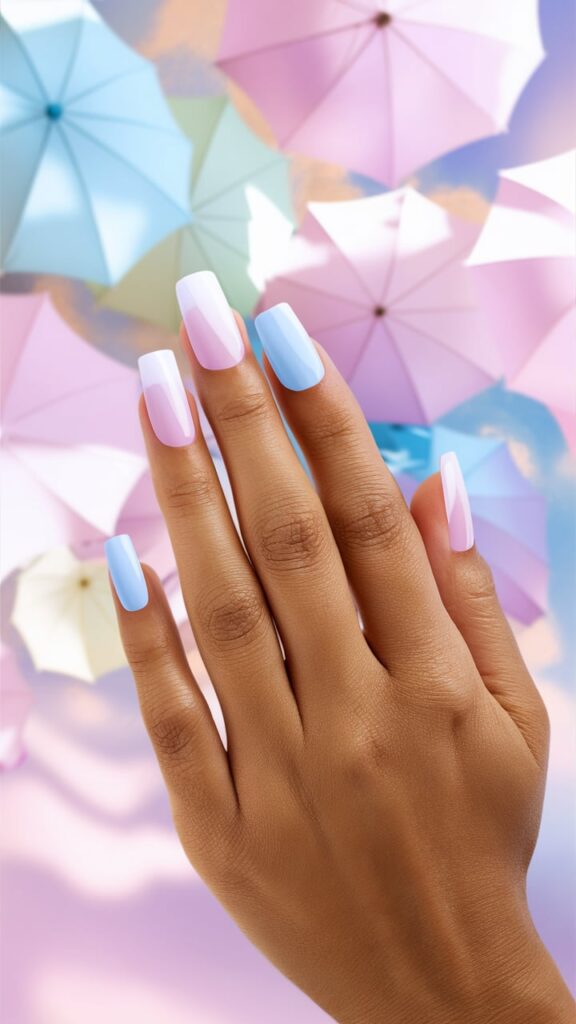
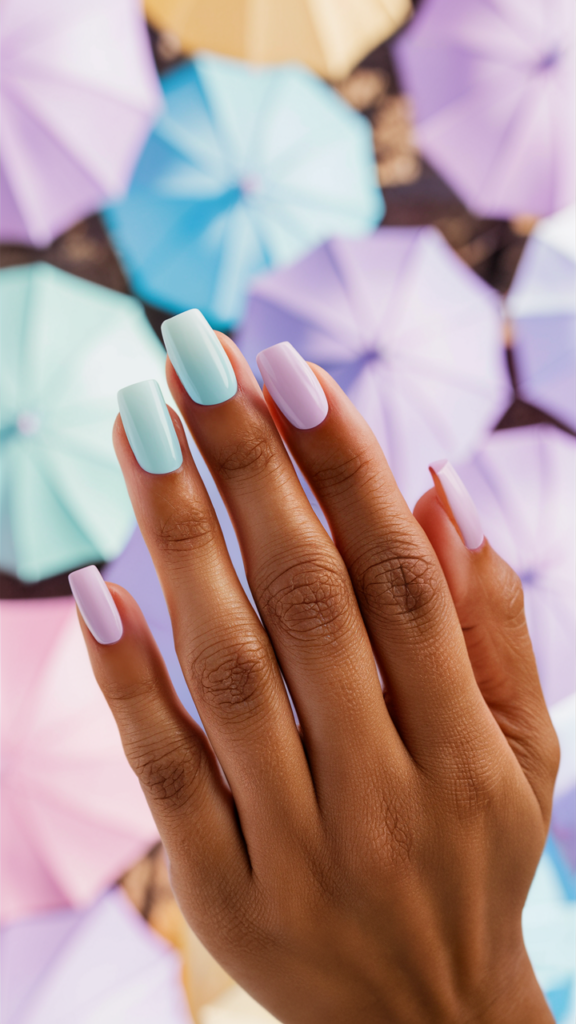
4. Pastel Paradise
For a softer, more delicate look, consider these gentle hues:
- Lavender
- Mint green
- Peach
- Baby blue
Pastel colors are ideal for creating subtle ombré effects or watercolor-inspired designs.
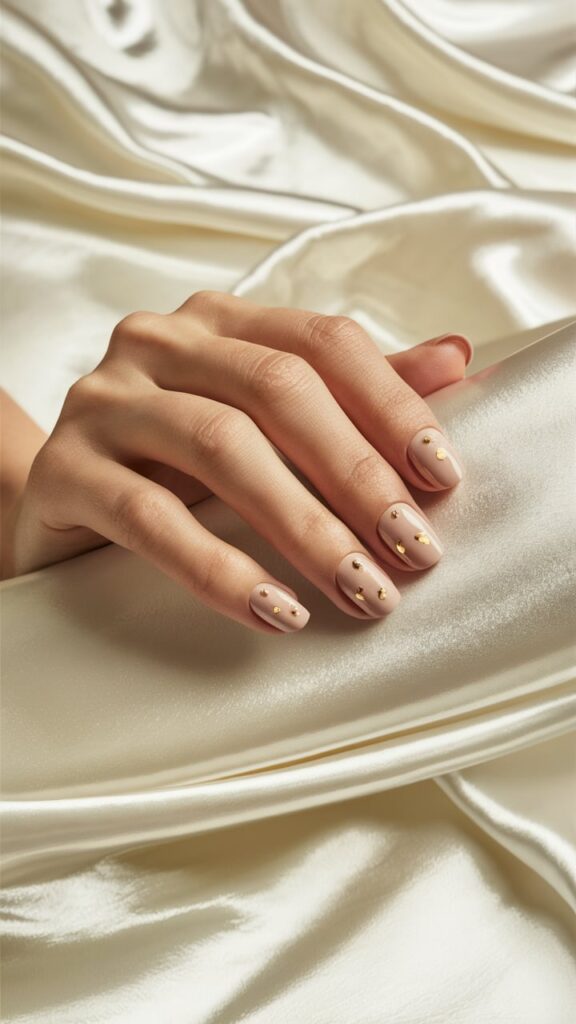
5. Metallic Magic
Add some shimmer to your summer with these reflective shades:
- Rose gold
- Silver
- Bronze
- Iridescent pearl
Metallic colors work well as accents or for creating eye-catching geometric patterns.
Patterns Perfect for Short Nails
When it comes to patterns, the key is to choose designs that don’t overwhelm your shorter nail beds. Here are some patterns that work particularly well:
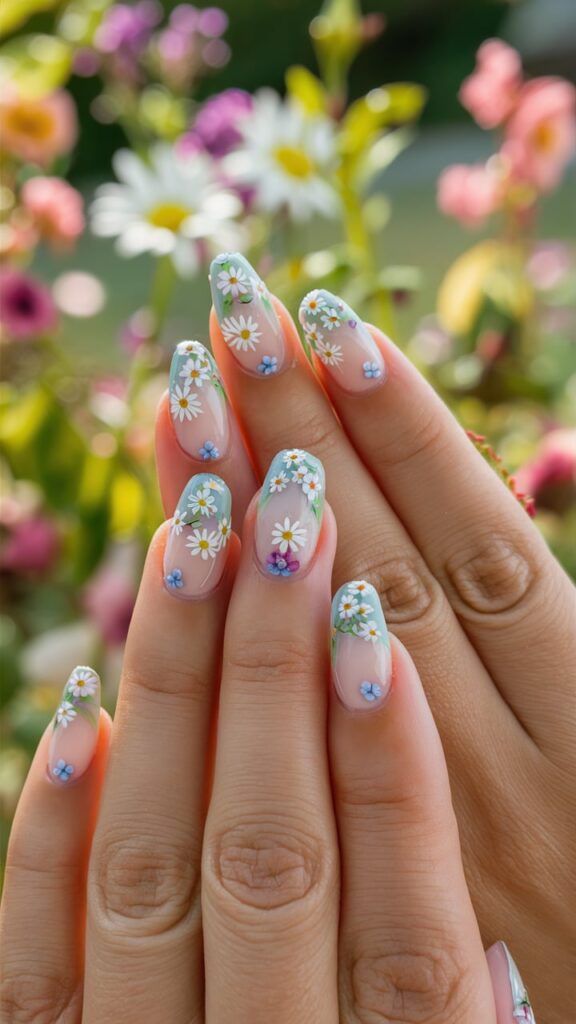
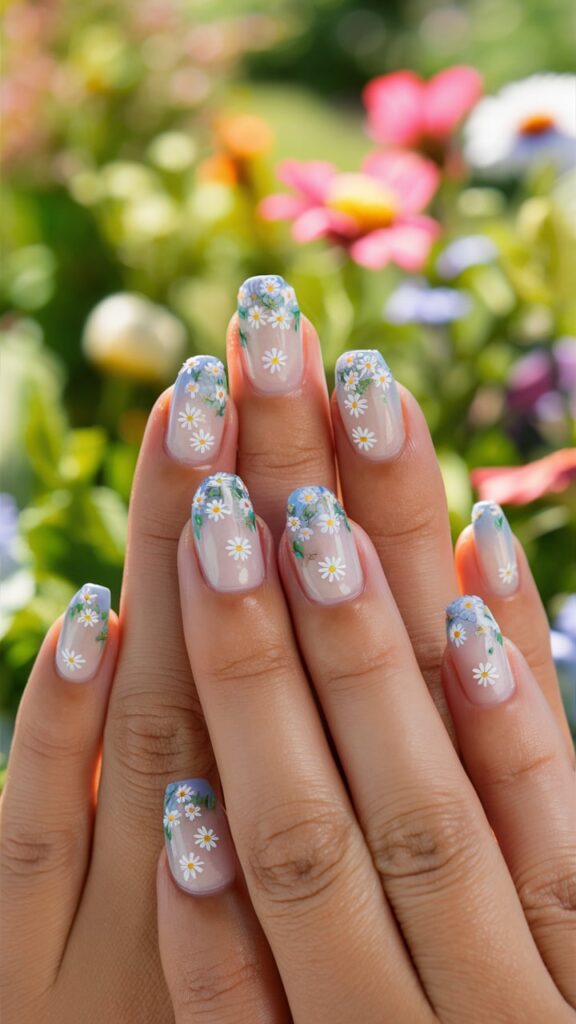
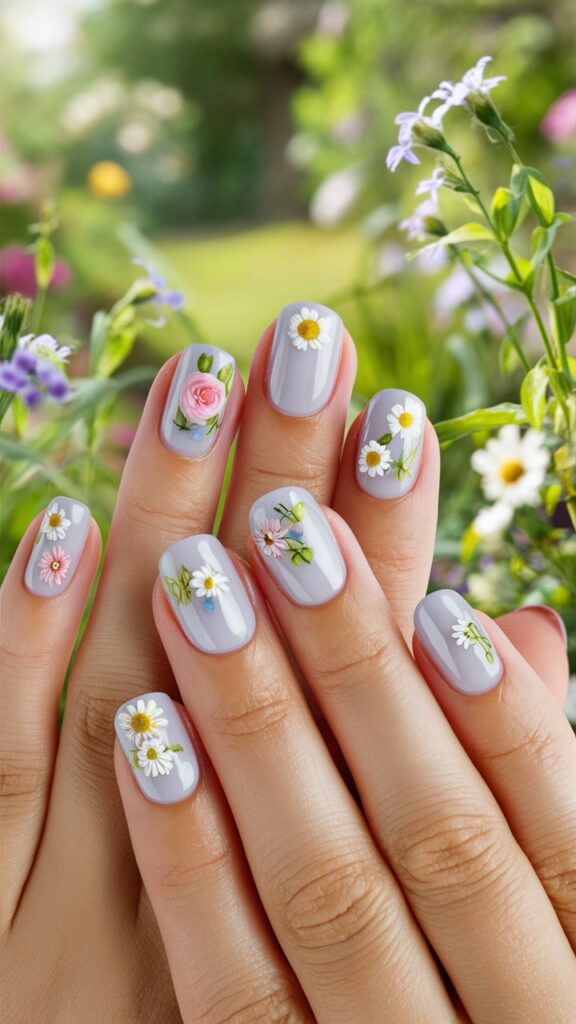
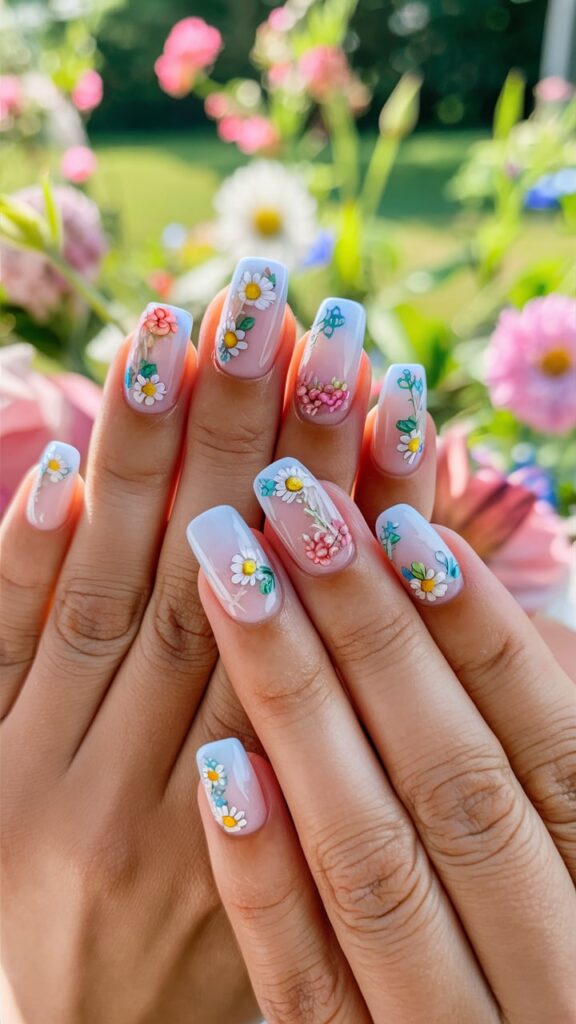
1. Micro Florals
Tiny flower designs are both delicate and summery. Use a thin brush or dotting tool to create small petals and leaves. This pattern works best when limited to one or two accent nails.
2. Thin Stripes
Vertical or diagonal thin stripes can create the illusion of longer nails. Use striping tape to achieve clean, straight lines.
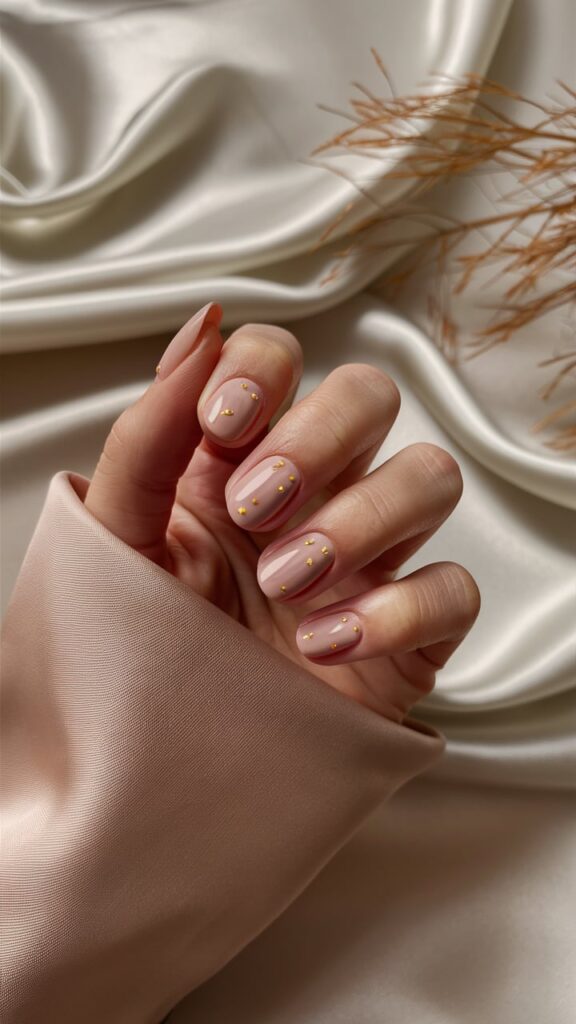
3. Dotted Designs
Simple dot patterns are easy to create and can be arranged in various ways:
- Polka dots
- Cascading dots
- Dot flowers
- Crescent moon dots at the base of the nail
4. Minimalist Geometric Shapes
Small triangles, half-moons, or thin lines can add interest without overwhelming short nails. Keep the designs simple and use negative space for a modern look.
5. Gradient Patterns
Gradients work well on short nails, especially when transitioning from a lighter shade at the base to a darker shade at the tip. This creates depth and can make nails appear longer.
6. Nautical Themes
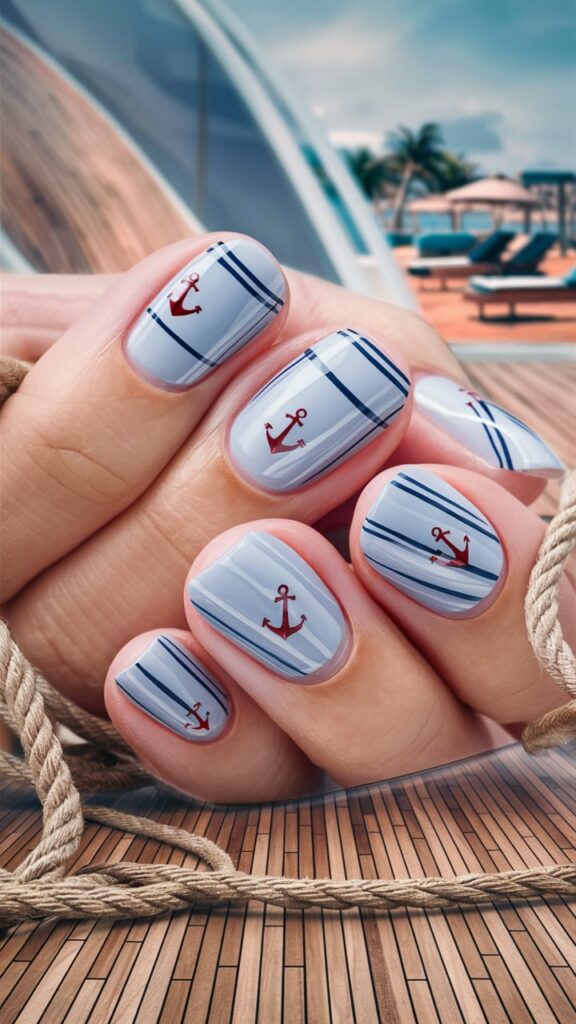
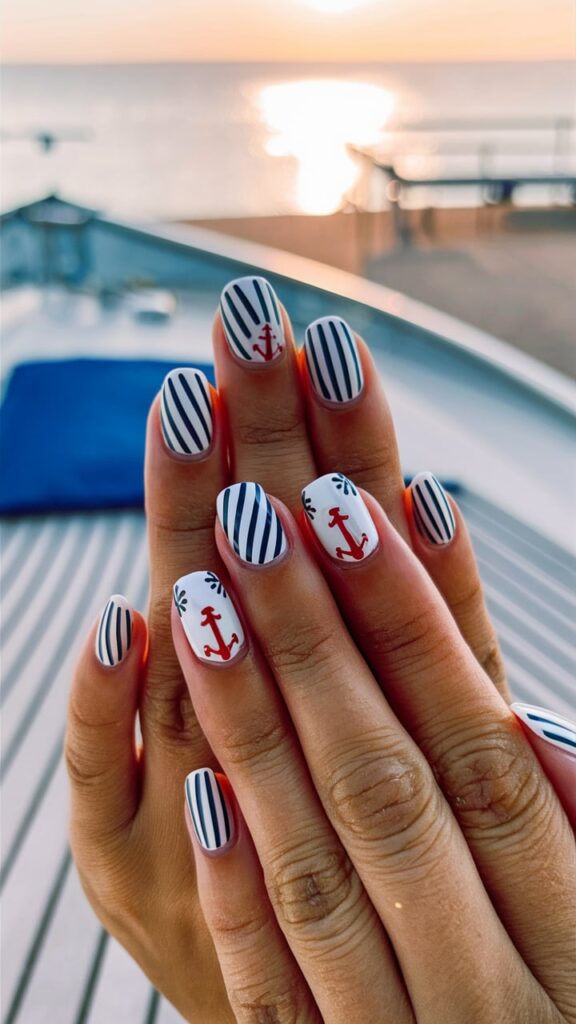
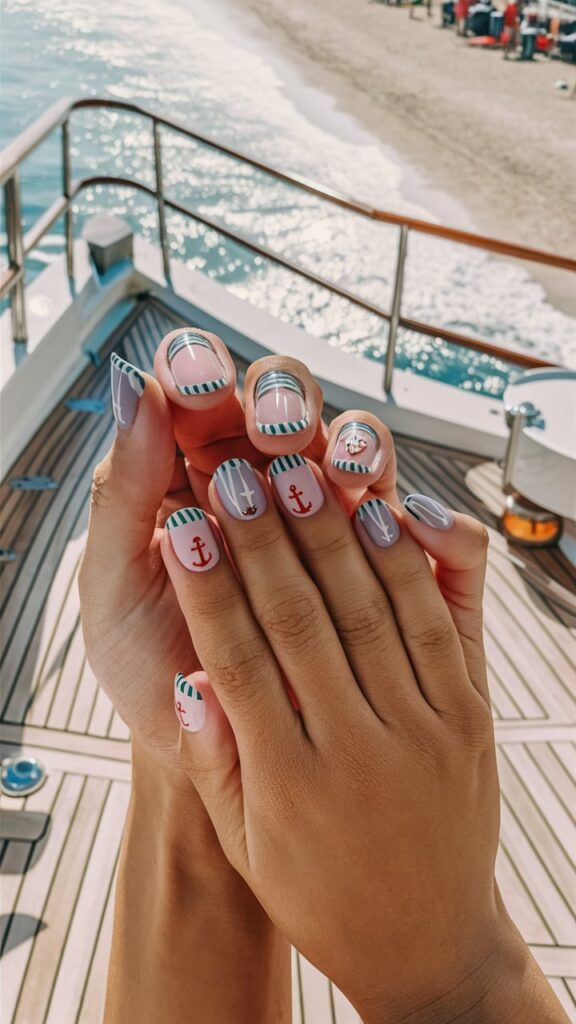
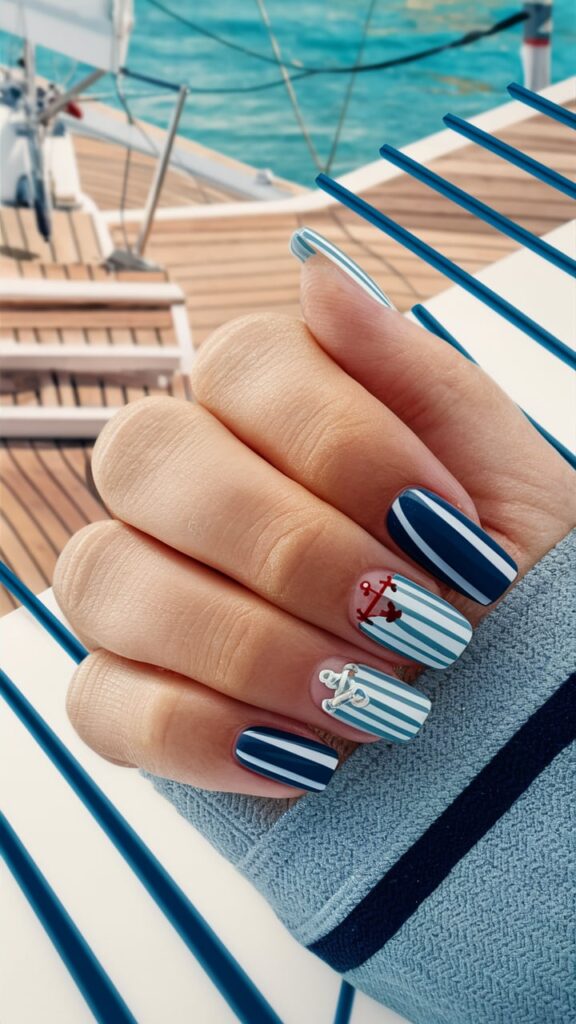
Incorporate anchors, thin stripes, or small wave patterns for a seaside-inspired look. Stick to two or three colors maximum to avoid cluttering the design.
7. Fruit Slices
Tiny watermelon, orange, or kiwi slices make for adorable and seasonally appropriate nail art. Place these on the tips of your nails or as small accents.
Combining Colors and Patterns
To create cohesive and stylish summer nail designs for short nails, consider these tips:
- Limit your color palette: Choose 2-3 main colors plus an accent color to keep your design from looking busy.
- Use negative space: Incorporating bare nail into your design can make patterns stand out and prevent short nails from looking overcrowded.
- Focus on accent nails: Apply more intricate patterns to just one or two nails per hand, keeping the others simple.
- Consider your skin tone: Choose colors that complement your skin. Warmer skin tones look great with coral, orange, and gold hues, while cooler skin tones shine with blues,
purples, and silvery tones.
- Balance bold and subtle: If you use a bright color, balance it with a more neutral shade to avoid overwhelming your short nails.
Here’s a table summarizing how different patterns work on short nails:
| Pattern | Difficulty | Effect on Short Nails | Best Color Combinations |
|---|---|---|---|
| Micro Florals | Moderate | Delicate and feminine | Pastels or bright on neutral base |
| Thin Stripes | Easy | Elongating | Monochromatic or contrasting |
| Dotted Designs | Easy | Playful and versatile | Multi-color or ombré |
| Geometric Shapes | Moderate | Modern and chic | Metallic on neutral or bold colors |
| Gradient | Moderate | Adds depth and length | Complementary or analogous colors |
| Nautical Themes | Easy to Moderate | Classic summer style | Navy, white, and red |
| Fruit Slices | Moderate | Fun and seasonal | Realistic fruit colors on neutral base |
Seasonal Trend: Color-Changing Polishes
One exciting trend for summer nail designs on short nails is the use of color-changing polishes. These innovative products react to temperature changes, shifting between two or more colors. They’re perfect for short nails because:
- They create visual interest without complex patterns
- The color change effect is noticeable even on smaller nail beds
- They’re low-maintenance but high-impact
Try pairing a color-changing polish with a solid accent nail in one of the polish’s shades for a coordinated look.
Final Thoughts on Color and Pattern Selection
When choosing colors and patterns for your summer short nail designs, remember that less is often more. Short nails provide a smaller canvas, so it’s important to select designs that enhance rather than overwhelm.
Consider your lifestyle and the occasions you’ll be attending. Bright, bold designs might be perfect for a beach vacation, while softer, more subtle patterns could be more appropriate for a summer wedding or professional setting.
Don’t be afraid to experiment with different combinations of colors and patterns. Summer is the perfect time to have fun with your nail art and express your personality through your manicure. Whether you prefer soft pastels, vibrant neons, or classic nautical themes, there’s a summer nail design perfect for your short nails.
Remember to always prep your nails properly, use a good base coat to protect your natural nails, and finish with a high-quality top coat to extend the life of your manicure. With the right colors, patterns, and care, your short nails will be summer-ready and stylish all season long!
Maintaining Your Summer Nail Design on Short Nails
Creating beautiful summer nail designs is only half the battle – keeping them looking fresh and chip-free is equally important, especially when you have short nails. Short nails can be more prone to wear and tear, but with the right techniques and care, you can extend the life of your manicure and keep your nails looking fabulous throughout the summer season.
Preparation: The Key to Long-Lasting Nail Designs
Before you even begin your nail art, proper preparation is crucial for longevity:
- Start with clean nails: Remove all traces of old polish and oils from your nails.
- Shape carefully: File your nails to a shape that complements your nail beds and reduces the likelihood of snagging or breaking.
- Buff gently: Lightly buff the surface of your nails to create a smooth canvas for your design.
- Push back cuticles: Gently push back your cuticles to maximize your nail surface area.
- Dehydrate: Use a nail dehydrator or rubbing alcohol to remove any remaining oils.
- Apply a quality base coat: This step is crucial for protecting your natural nails and helping the polish adhere better.
Application Techniques for Lasting Designs
How you apply your nail design can significantly impact its durability:
- Thin layers: Apply multiple thin layers rather than one thick layer of polish. This helps prevent bubbling and peeling.
- Cap the free edge: Paint the very tip of your nail to seal the polish and prevent chipping.
- Allow drying time: Let each layer dry completely before applying the next. Patience is key!
- Finish with a top coat: Use a high-quality top coat to seal in your design and add shine. Reapply every 2-3 days to refresh your manicure.
Daily Care for Your Summer Nail Design
Once your nail art is complete, follow these tips to maintain it:
- Wear gloves: Protect your nails when doing dishes, cleaning, or gardening.
- Moisturize: Keep your hands and cuticles well-moisturized, but avoid getting lotion on your nail surface.
- Avoid hot water: Excessive exposure to hot water can cause your polish to lift. Use lukewarm water when possible.
- Be gentle: Use your nails as tools (for opening cans, scratching labels, etc.) can quickly damage your design.
- Touch up chips promptly: Small chips can be carefully filled in to extend the life of your manicure.
Addressing Common Issues with Short Nail Designs
| Issue | Solution |
|---|---|
| Chipping at nail tips | Reapply top coat every 2-3 days, focusing on the free edge |
| Peeling | Ensure nails are oil-free before application; use a rubberized base coat |
| Fading | Use a UV-resistant top coat for bright colors; avoid excessive sun exposure |
| Shrinkage | Allow polish to dry between coats; avoid thick layers |
| Smudging | Allow ample drying time; use a quick-dry top coat |
Removing Your Nail Design Safely
When it’s time to change your design, remove it carefully to protect your short nails:
- Soak method: For regular polish, soak a cotton pad in acetone-free remover and place it on your nail for a few minutes before gently wiping off the polish.
- Foil method: For stubborn glitters or dark colors, wrap your nails in acetone-soaked cotton and aluminum foil for 10-15 minutes.
- Gentle removal: Never scrape or peel off your nail polish, as this can damage your natural nails.
- Aftercare: Once the polish is removed, moisturize your nails and cuticles to replenish any oils lost during the removal process.
Nail Health Between Designs
To keep your short nails healthy and ready for your next summer design:
- Give your nails a break: Allow a day or two between manicures for your nails to breathe.
- Nourish your nails: Use a nail strengthening treatment or cuticle oil regularly.
- Stay hydrated: Drink plenty of water to keep your nails (and the rest of you) hydrated from the inside out.
- Eat a balanced diet: Ensure you’re getting enough biotin, protein, and vitamins for healthy nail growth.
Professional vs. DIY Maintenance
While professional manicures can last longer, maintaining your summer nail design at home is often more practical and budget-friendly. Here’s a comparison:
| Aspect | Professional | DIY |
|---|---|---|
| Cost | Higher upfront cost | Lower cost, especially for touch-ups |
| Time | Requires salon visits | Can be done on your schedule |
| Skill Level | Expert application | Improves with practice |
| Customization | Limited to salon offerings | Unlimited creativity |
| Longevity | Often lasts 1-2 weeks | Varies, but can be extended with proper care |
Whether you choose professional or DIY maintenance, the key to long-lasting summer nail designs on short nails is consistent care and attention.
Remember, short nails can be an advantage when it comes to maintenance. They’re less likely to break or snag, and touch-ups are often easier to manage. With these tips and techniques, you can keep your summer nail designs looking fresh and vibrant, no matter what adventures the season brings. Embrace your short nails and show off your style with confidence all summer long!
Key Takeaways: Summer Nail Designs for Short Nails
- Short nails are versatile: They can rock a wide range of summer designs, from minimalist to bold.
- Preparation is crucial: Proper nail care and preparation ensure longer-lasting manicures.
- Color choices matter: Summer palettes include tropical hues, pastels, and metallic shades.
- Nail art techniques: Dotting, striping, and gradient effects work well on short nails.
- Patterns for short nails: Micro florals, thin stripes, and minimalist geometric shapes are ideal.
- Maintenance is key: Regular touch-ups and proper care extend the life of your nail design.
- Celebrity inspiration: Stars like Zendaya, Rihanna, and Emma Stone showcase stylish short nail looks.
- DIY techniques: With practice, you can create salon-worthy designs at home.
- Adapt trends: Scale down popular designs to suit your shorter nail length.
- Express yourself: Summer nail art is an opportunity to showcase your personality and style.